
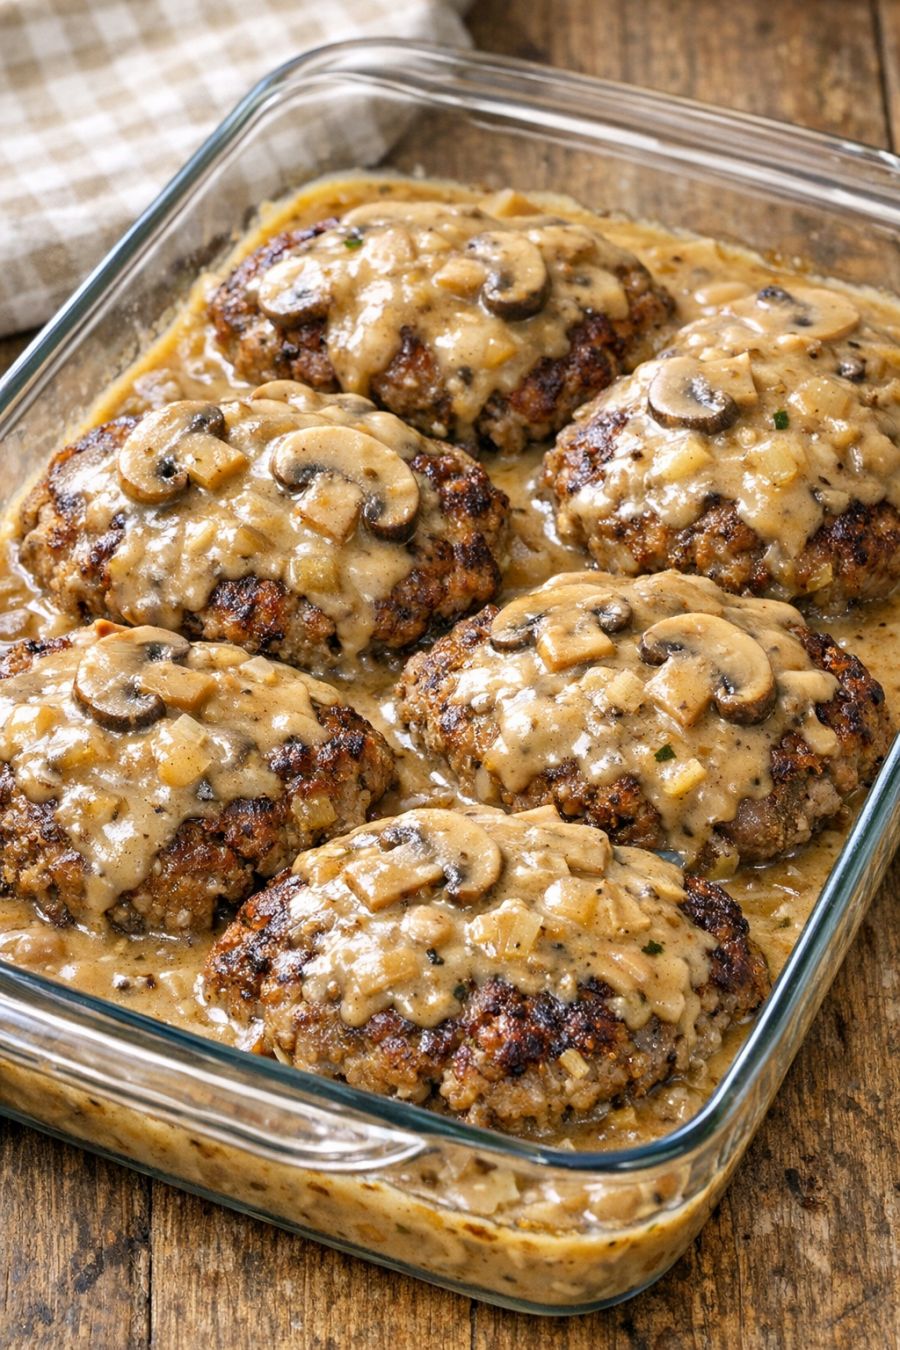
This oven baked 4-ingredient Amish-style poor man’s steak is the kind of cozy, stick-to-your-ribs supper that feels right at home in a small Midwestern kitchen. It starts with simple raw ground beef patties, laid into a glass baking dish and smothered with creamy mushroom soup and just two more pantry ingredients. Everything bakes together into tender, gravy-covered patties that taste like they took all afternoon, even though they come together in minutes. It’s budget-friendly, kid-approved, and the one my family always asks for when we need an easy, comforting meal on a busy weeknight.
Serve these creamy baked patties with fluffy mashed potatoes or buttered egg noodles to soak up all that mushroom gravy. A side of green beans, steamed peas, or a simple tossed salad helps balance out the richness. Warm dinner rolls or slices of crusty bread are perfect for mopping up the last bit of sauce in the glass dish. For a fuller plate, add applesauce or coleslaw on the side—just like a small-town church supper.
Oven Baked 4-Ingredient Amish Poor Man's Steak
Servings: 4
Ingredients
1 1/2 pounds ground beef (80–85% lean)
1 (10.5-ounce) can cream of mushroom soup
1/2 cup whole milk (or 2% milk)
1 packet (about 1 ounce) dry onion soup mix
Directions
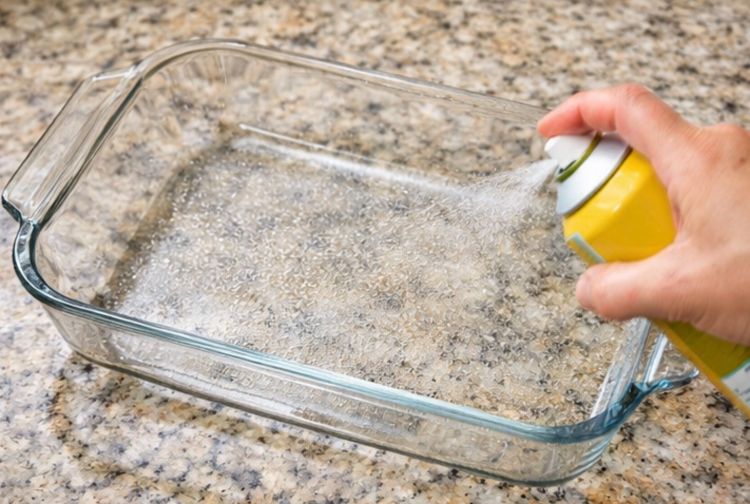
Preheat your oven to 350°F (175°C). Lightly grease a 9x13-inch glass baking dish or spray it with nonstick cooking spray to help with cleanup.
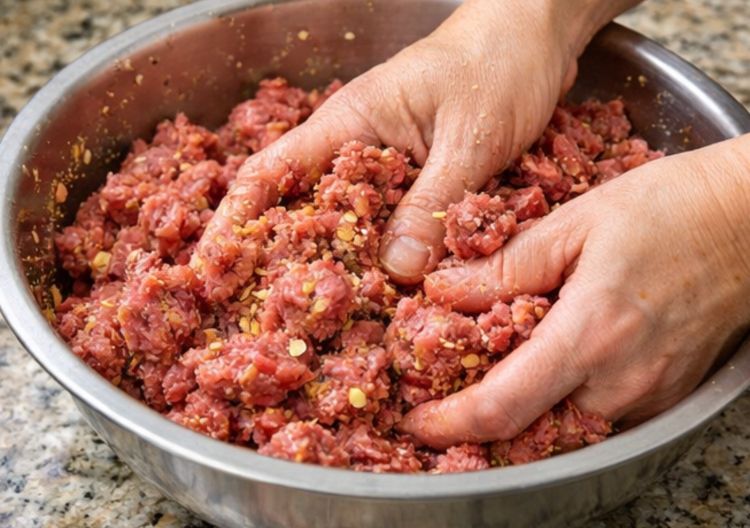
In a medium bowl, combine the ground beef and dry onion soup mix. Use clean hands to gently mix until the seasoning is evenly distributed, but do not overwork the meat so the patties stay tender.
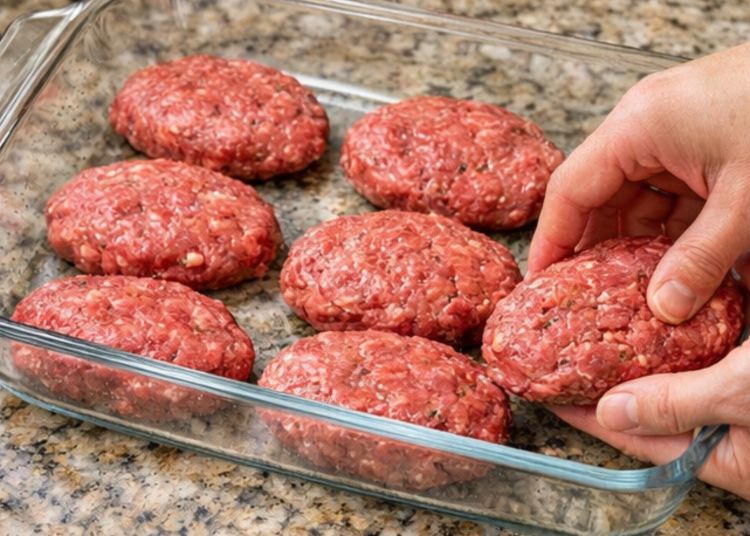
Divide the seasoned beef mixture into 6 to 8 equal portions, depending on how big you like your patties. Shape each portion into a flat oval or round patty about 1/2 to 3/4 inch thick.
Arrange the raw ground beef patties in a single layer in the prepared glass baking dish, leaving just a little space between each one so the sauce can flow around them.
In a separate bowl, whisk together the cream of mushroom soup and the milk until smooth and pourable. It should be the consistency of a loose gravy.
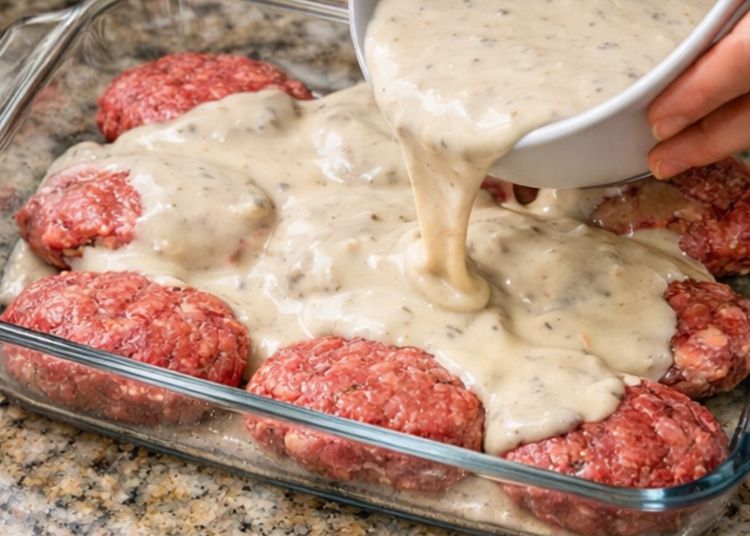
Holding the bowl over the glass baking dish, pour the cream of mushroom soup mixture evenly over the raw ground beef patties, making sure each patty is well coated and some sauce covers the bottom of the dish.
Cover the glass baking dish tightly with aluminum foil to keep the steam and moisture in while baking, which helps the patties cook through gently and stay tender.
Bake in the preheated oven for 35 to 40 minutes, or until the patties are cooked through and no longer pink in the center (an instant-read thermometer should read 160°F/71°C in the thickest part).
Carefully remove the foil, then return the dish to the oven and bake uncovered for an additional 5 to 10 minutes to let the top of the sauce thicken slightly and pick up a little color around the edges.
Let the dish rest for about 5 minutes before serving so the sauce can settle and thicken a bit more. Spoon the creamy mushroom gravy over each patty when plating, and serve hot.

Variations & Tips
For picky eaters, you can swap the cream of mushroom soup for cream of chicken or cream of celery if they shy away from mushroom pieces; just keep the same amount of milk and onion soup mix so the texture and flavor stay similar. If you’d like to stretch the meat a bit further, mix in 1/2 cup plain dry bread crumbs and 1 beaten egg with the ground beef and onion soup mix—this gives a more meatloaf-style patty and can yield an extra serving or two. For a milder onion flavor, use only half the packet of onion soup mix and add a pinch of salt and pepper instead. To sneak in some veggies, scatter thinly sliced mushrooms or onions in the bottom of the glass baking dish before adding the patties, or tuck a few frozen green beans or peas around the edges; they’ll cook right in the sauce. If you prefer a richer gravy, replace half of the milk with beef broth or add a tablespoon of Worcestershire sauce to the soup mixture before pouring it over the raw patties. Leftovers reheat well in the microwave or oven with a splash of milk to loosen the sauce, making them great for next-day lunches or quick sandwiches on toasted bread.


