Top Ad 728x90

Thursday, March 26, 2026

Chicken Parmesan Casserole: A Crispy, Cheesy Weeknight Wonder

by


Picture juicy chicken breasts nestled in flavorful marinara sauce, topped with a crispy golden crust made from mozzarella and Parmesan cheeses. This recipe is so good you will not believe how little time it takes to throw together such an amazing meal. With just a few simple ingredients and easy steps, anyone can make their love for cooking come alive again with every bite of this Chicken Parmesan Casserole.

Inspired by the classic Italian-American favorite, this casserole version takes all the flavors you love—tender chicken, rich marinara, and a crispy, cheesy topping—and simplifies them into one easy dish. No dredging, no frying, no complicated steps. Just layer, sprinkle, and bake. The result is a golden, bubbling casserole that tastes like it came from a restaurant but is made right in your own kitchen.

Whether you are feeding a hungry family on a busy weeknight or looking for a comforting dish to share with friends, this Chicken Parmesan Casserole delivers. It is hearty, satisfying, and guaranteed to become a favorite.


Why You Will Love This Recipe

  • Restaurant Flavor at Home: All the classic chicken parmesan flavors without the fuss.

  • Simple Ingredients: Just a handful of ingredients come together to create something spectacular.

  • Easy Preparation: No dredging or frying—just layer, top, and bake.

  • Crispy, Cheesy Topping: The combination of panko bread crumbs and Parmesan creates a golden, crunchy crust.

  • Perfect for Weeknights: With minimal prep and hands-off baking, this casserole is ideal for busy evenings.

  • Family-Friendly: A dish that both kids and adults will love.


Chicken Parmesan Casserole

Prep Time: 15 minutes | Cook Time: 1 hour | Total Time: 1 hour 15 minutes
Servings: 4

This easy casserole version of chicken parmesan layers tender chicken breasts in marinara sauce with mozzarella and a crispy panko-Parmesan topping. Baked until golden and bubbly, it is a simple yet impressive dish perfect for any night of the week.

Ingredients

  • 4 butterfly-style chicken breasts (or 4 boneless, skinless chicken breasts, pounded to even thickness)

  • 2½ cups marinara sauce (your favorite jarred or homemade)

  • 1½ cups shredded mozzarella cheese, divided

  • Half of a bunch of fresh basil, finely chopped

  • 1 cup grated Parmesan cheese

  • ½ cup panko bread crumbs

  • 2 tablespoons (30 ml) finely chopped fresh parsley

  • ½ teaspoon salt

  • ½ teaspoon black pepper

  • 1 pinch dried oregano

  • Cayenne pepper, to taste (optional)

Instructions

Step 1: Preheat and Prepare
Preheat your oven to 375°F (190°C). Lightly grease an 8×8-inch baking dish or coat with nonstick spray.

Step 2: Layer the Sauce and Cheese
Coat the bottom of the baking dish with the marinara sauce, spreading it into an even layer. Sprinkle ½ cup of the shredded mozzarella cheese over the sauce. Sprinkle the finely chopped fresh basil evenly over the cheese.

Step 3: Season the Chicken
Pat the chicken breasts dry with paper towels. Season both sides evenly with salt, black pepper, and cayenne pepper (if using).

Step 4: Arrange the Chicken
Place the seasoned chicken breasts in the baking dish on top of the mozzarella and basil layer.

Step 5: Make the Topping
In a small bowl, combine the panko bread crumbs, grated Parmesan cheese, chopped fresh parsley, and dried oregano. Mix well.

Step 6: Top the Casserole
Sprinkle the remaining 1 cup of shredded mozzarella cheese evenly over the chicken breasts. Then, sprinkle the panko-Parmesan mixture evenly over the top.

Step 7: Bake
Bake uncovered for about 1 hour, or until the chicken is cooked through (internal temperature reaches 165°F / 74°C) and the topping is crispy and golden brown.

Step 8: Rest and Serve
Let the casserole rest for 5 to 10 minutes before serving. This allows the juices to settle and makes serving easier. Serve hot, spooning extra sauce from the bottom of the dish over the chicken.


Tips for Perfect Chicken Parmesan Casserole

  • Butterfly or Pound the Chicken:Using butterfly-style chicken breasts or pounding regular breasts to an even thickness ensures they cook uniformly and stay tender.

  • Use Quality Marinara: Since the sauce is a key component, choose a high-quality jarred marinara or use your favorite homemade recipe.

  • Fresh Basil Makes a Difference:Fresh basil adds bright, aromatic flavor that elevates the entire dish. If fresh is unavailable, substitute 1 teaspoon of dried basil.

  • Do Not Overbake: Chicken is done when it reaches an internal temperature of 165°F (74°C). Overbaking can dry out the chicken.

  • Let It Rest: Allowing the casserole to rest for 5 to 10 minutes after baking helps the layers set and makes for cleaner servings.

  • Broil for Extra Crispiness: For an even crispier topping, switch the oven to broil for the last 2 to 3 minutes of baking. Watch closely to prevent burning.


Variations and Substitutions

  • Chicken Thighs: Substitute boneless, skinless chicken thighs for breasts. They are more forgiving and stay extra moist.

  • Gluten-Free: Use gluten-free panko bread crumbs to make this dish gluten-free.

  • Add Garlic: Add 2 to 3 cloves of minced garlic to the marinara sauce or sprinkle garlic powder over the chicken.

  • Spicy Version: Increase the cayenne pepper or add red pepper flakes to the marinara sauce for heat.

  • Vegetable Addition: Add a layer of sautéed mushrooms, spinach, or zucchini between the sauce and chicken.

  • Provolone Cheese: Swap some of the mozzarella for provolone for a sharper, more robust flavor.

  • Make It Ahead: Assemble the casserole (without baking) and refrigerate for up to 24 hours. Add 10 to 15 minutes to the baking time.


What to Serve with Chicken Parmesan Casserole

This hearty casserole pairs beautifully with:

  • Pasta: Serve over spaghetti, fettuccine, or your favorite pasta tossed with extra marinara.

  • Garlic Bread: Perfect for sopping up the extra sauce.

  • Roasted Vegetables: Roasted broccoli, zucchini, or asparagus add color and balance.

  • Simple Salad: A crisp green salad with a tangy vinaigrette cuts through the richness.

  • Rice or Polenta: Serve alongside creamy polenta or rice for a comforting meal.


Storage and Reheating

  • Refrigerator: Store leftovers in an airtight container in the refrigerator for up to 4 days.

  • Freezer: This casserole freezes well. Allow it to cool completely, then wrap tightly in plastic wrap and aluminum foil or transfer to a freezer-safe container. Freeze for up to 3 months. Thaw overnight in the refrigerator before reheating.

  • Reheating: Reheat in a 350°F oven covered with foil for 15 to 20 minutes, or until warmed through. For individual portions, the microwave works well.


The History of Chicken Parmesan

Chicken Parmesan, or “Parmigiana di Pollo” in Italian, is a beloved Italian-American dish that has become a staple in restaurants and home kitchens across the United States. While eggplant parmesan (melanzane alla parmigiana) is the original Italian version, Italian immigrants adapted the dish using chicken, which was more readily available and affordable in America.

The dish typically consists of breaded and fried chicken cutlets topped with marinara sauce and melted cheese. This casserole version simplifies the process while preserving all the flavors that make chicken parmesan a classic. It is a testament to the resourcefulness and creativity of home cooks who value flavor and simplicity.


Why This Recipe Works

This recipe succeeds by simplifying the traditional chicken parmesan process without sacrificing flavor. Skipping the breading and frying steps saves time and reduces mess while still delivering a delicious result. The chicken cooks directly in the marinara sauce, staying moist and absorbing the flavors of the sauce and herbs.

The combination of mozzarella and Parmesan creates a rich, cheesy layer, while the panko bread crumbs add a crisp, golden topping that mimics the texture of fried breading. Fresh basil adds brightness, and the optional cayenne provides a subtle warmth that complements the other flavors.


Nutritional Information

Please note that values are estimates and will vary based on specific ingredients and portion sizes.

Per serving (based on 4 servings):

NutrientAmount
Calories480–550
Protein48–52g
Carbohydrates18–22g
Fat24–28g
Saturated Fat12–14g
Fiber2–3g
Sugar6–8g
Sodium1000–1200mg

Conclusion

Chicken Parmesan Casserole is proof that you do not need complicated techniques to create a memorable meal. With juicy chicken, rich marinara, a crispy cheesy topping, and minimal prep, this dish delivers all the comfort and flavor of the classic Italian-American favorite.

Whether you are making it for a busy weeknight dinner, a cozy family meal, or a casual gathering with friends, this casserole is sure to impress. It is simple, satisfying, and guaranteed to become a favorite in your kitchen.

I hope this recipe brings warmth and flavor to your table. If you give it a try, please leave a comment below. I would love to hear how it turned out for you.

Slow Cooker 5-Ingredient Chicken and Biscuits: The Ultimate Comfort Food

by


 There are certain meals that define comfort food. Warm, creamy, and satisfying, they have the power to make any day feel a little bit better. This Slow Cooker 5-Ingredient Chicken and Biscuits is exactly that kind of meal. Tender, shredded chicken in a rich, creamy gravy, studded with colorful vegetables and topped with soft, fluffy biscuits—it is everything you love about a classic chicken pot pie, made effortless in the slow cooker.

With just five simple ingredients and minimal prep, this recipe delivers big flavor without the fuss. The slow cooker does all the work, transforming bone-in chicken thighs into fall-apart tender meat, while the cream of chicken soup and broth create a velvety base. Frozen vegetables add color and nutrition, and refrigerated biscuit dough provides the perfect finishing touch—soft, pillowy dumplings that cook right on top of the chicken mixture.

This is the kind of meal that brings everyone to the table. Whether you are feeding a hungry family on a busy weeknight or looking for a cozy dinner to share on a chilly evening, this Chicken and Biscuits is sure to become a favorite.


Why You Will Love This Recipe

  • Just 5 Ingredients: Chicken thighs, chicken broth, cream of chicken soup, frozen vegetables, and biscuit dough—that is all it takes.

  • Set It and Forget It: The slow cooker does all the work, making this perfect for busy days.

  • Incredibly Tender Chicken: Bone-in chicken thighs become fall-apart tender as they cook low and slow.

  • Rich, Creamy Base: The combination of cream of chicken soup and broth creates a velvety, comforting gravy.

  • Fluffy Biscuit Topping: Refrigerated biscuit dough cooks right in the slow cooker, creating soft, dumpling-like biscuits.

  • Family-Approved: This is the kind of warm, comforting meal that both kids and adults love.


Slow Cooker 5-Ingredient Chicken and Biscuits

Prep Time: 10 minutes | Cook Time: 6 to 7 hours on LOW or 4 to 5 hours on HIGH | Total Time: 6 to 7 hours
Servings: 6

This creamy, comforting chicken and biscuits recipe is a slow cooker marvel. Tender shredded chicken, frozen vegetables, and a rich gravy are topped with soft, fluffy biscuits that cook right in the pot. It is like a chicken pot pie without the fuss.

Ingredients

  • 2 pounds bone-in, skinless chicken thighs (about 4 to 6 thighs)

  • 2 cups low-sodium chicken broth

  • 1 can (10.5 ounces) condensed cream of chicken soup

  • 2 cups frozen mixed vegetables (peas, carrots, corn, and green beans)

  • 1 can (16.3 ounces) refrigerated biscuit dough (8 regular-size biscuits)

Instructions

Step 1: Layer the Chicken
Place the raw chicken thighs in an even layer in the bottom of a 5- to 6-quart slow cooker.

Step 2: Make the Sauce
In a small bowl or measuring cup, whisk together the chicken broth and condensed cream of chicken soup until mostly smooth. It does not have to be perfect, just well combined.

Step 3: Add the Sauce
Pour the broth and soup mixture evenly over the raw chicken thighs in the slow cooker, making sure the chicken is mostly covered. This is the cozy base that keeps everything tender.

Step 4: Add the Vegetables
Sprinkle the frozen mixed vegetables over the top of the chicken and broth mixture, spreading them into an even layer.

Step 5: Cook
Cover the slow cooker with the lid and cook on LOW for 5 to 6 hours, or on HIGH for 3 to 4 hours, until the chicken is very tender and easily pulls apart with a fork.

Step 6: Shred the Chicken
About 1 hour before you plan to eat, carefully remove the lid and use two forks to gently shred or break up the chicken into large chunks right in the slow cooker, stirring it together with the broth, soup, and vegetables.

Step 7: Add the Biscuits
Open the can of refrigerated biscuit dough and cut each biscuit into 4 small pieces. Gently stir half of the biscuit pieces into the hot chicken mixture, then lay the remaining pieces in a single layer on top so they can steam and puff up.

Step 8: Finish Cooking
Replace the lid and cook on HIGH for 45 to 60 minutes, or until the biscuit pieces are cooked through. The ones on top will be fluffy and soft, and the ones stirred in will be more dumpling-like.

Step 9: Serve
Once the biscuits are done, give the mixture a gentle stir to coat everything in the savory broth. Taste and add a pinch of salt and pepper if needed before serving warm.


Tips for Perfect Chicken and Biscuits

  • Use Bone-In Chicken Thighs: Bone-in, skinless chicken thighs are ideal for this recipe. The bone adds flavor and helps keep the meat moist during long cooking. If you prefer, boneless, skinless thighs can be used; reduce the cooking time slightly.

  • Do Not Use Chicken Breast: Chicken breast tends to dry out during long slow cooking. Thighs remain juicy and tender.

  • Low-Sodium Broth: Using low-sodium chicken broth allows you to control the salt level, especially since the cream of chicken soup already contains sodium.

  • Frozen Vegetables Are Perfect: No need to thaw the frozen vegetables before adding them. They will cook perfectly during the slow cooking process.

  • Cut Biscuits into Pieces: Cutting each biscuit into 4 small pieces creates the perfect bite-sized dumplings. Stirring half into the mixture and leaving half on top gives a variety of textures.

  • Check Biscuit Doneness: The biscuits are done when they are puffed, cooked through, and no longer doughy in the center. If they need more time, cook for an additional 10 to 15 minutes.


Variations and Substitutions

  • Cream of Mushroom Soup:Substitute cream of chicken soup with cream of mushroom for a different flavor profile.

  • Add Herbs: Add 1 teaspoon of dried thyme, rosemary, or poultry seasoning to the broth mixture for extra flavor.

  • Garlic Lovers: Add 3 to 4 cloves of minced garlic along with the vegetables for savory depth.

  • Fresh Vegetables: Substitute frozen vegetables with 2 cups of diced fresh carrots, celery, and peas. Add them to the slow cooker at the beginning.

  • Homemade Biscuits: Use your favorite homemade biscuit dough in place of refrigerated biscuits. Cut into small pieces and follow the same method.

  • Gluten-Free Option: Use gluten-free cream of chicken soup and gluten-free biscuit dough.

  • Add Cheese: Sprinkle shredded cheddar cheese over the biscuits during the last 10 minutes of cooking for a cheesy topping.


What to Serve with Chicken and Biscuits

This hearty dish is a complete meal on its own, but it pairs beautifully with:

  • A simple green salad with a tangy vinaigrette

  • Steamed green beans or roasted asparagus

  • A sprinkle of fresh parsley for color and freshness

  • A glass of iced tea or lemonade for a classic pairing


Storage and Reheating

  • Refrigerator: Store leftovers in an airtight container in the refrigerator for up to 4 days. The flavors often deepen overnight.

  • Freezer: This dish can be frozen, though the texture of the biscuits may soften upon thawing. Freeze without the biscuits for best results, adding fresh biscuits when reheating. Freeze for up to 3 months.

  • Reheating: Reheat gently on the stovetop over medium-low heat, stirring occasionally. Add a splash of broth if the mixture has thickened too much. The microwave can also be used for individual portions.


The History of Chicken and Dumplings

Chicken and dumplings is a classic American comfort food with roots in European and Southern cooking. The dish evolved from traditional British dumplings and French chicken fricassee, adapted by American home cooks using ingredients that were readily available.

The slow cooker version of chicken and biscuits takes this beloved dish and makes it even more accessible. By using refrigerated biscuit dough, home cooks can achieve the soft, pillowy texture of traditional dumplings without the extra step of making dough from scratch. This recipe honors that tradition while embracing modern convenience.


Why This Recipe Works

This recipe succeeds because of its thoughtful layering and the magic of slow cooking. Placing the chicken on the bottom ensures it cooks in the flavorful broth mixture, staying moist and tender. The frozen vegetables cook gently, retaining their color and texture without becoming mushy.

Shredding the chicken before adding the biscuits allows the meat to be evenly distributed throughout the creamy base. Cutting the biscuit dough into pieces and stirring half into the mixture creates dumpling-like bites throughout, while leaving half on top allows them to steam into fluffy, soft biscuits. The result is a dish that captures all the comfort of chicken pot pie and chicken and dumplings in one effortless meal.


Nutritional Information

Please note that values are estimates and will vary based on specific ingredients and portion sizes.

Per serving (based on 6 servings):

NutrientAmount
Calories480–550
Protein28–32g
Carbohydrates35–40g
Fat22–26g
Saturated Fat7–9g
Fiber3–4g
Sugar5–7g
Sodium900–1100mg

Conclusion

Slow Cooker 5-Ingredient Chicken and Biscuits is the ultimate comfort food for busy days. It is creamy, hearty, and deeply satisfying—a meal that tastes like it simmered on the stove all day but comes together with just a few minutes of prep. The tender chicken, rich gravy, colorful vegetables, and soft, fluffy biscuits make every spoonful a delight.

Whether you are serving it for a cozy weeknight dinner or sharing it with loved ones on a chilly evening, this recipe is sure to become a favorite. It is proof that you do not need a long list of ingredients or complicated techniques to create something truly memorable.

I hope this recipe brings warmth and comfort to your table. If you give it a try, please leave a comment below. I would love to hear how it turned out for you.
Wednesday, March 25, 2026

Pour melted butter over raw

by


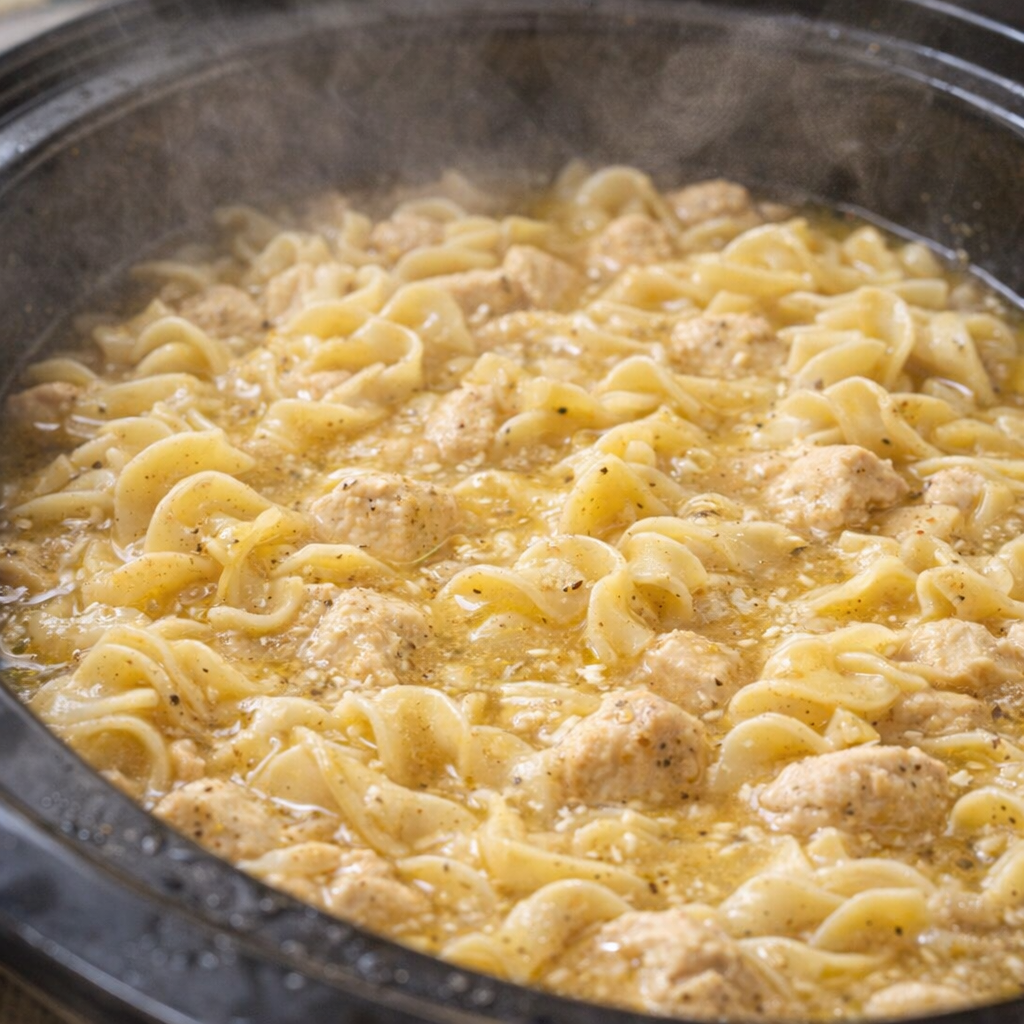
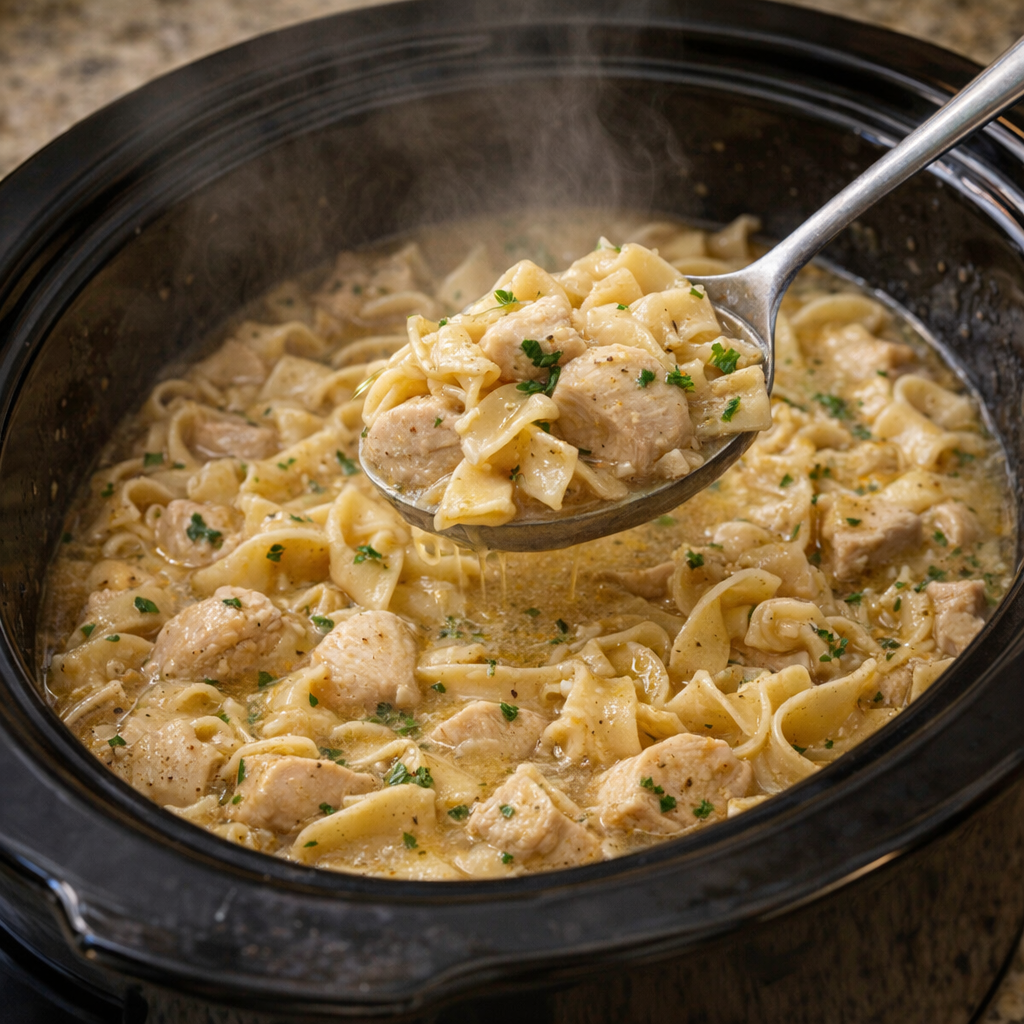
This slow cooker 5-ingredient Amish garlic butter chicken noodles recipe is the kind of comforting, no-fuss supper that’s seen many a busy farm wife through long days. It reminds me of dishes that showed up on church potluck tables all over the rural Midwest—simple ingredients, gentle flavors, and that cozy mix of chicken, butter, and noodles that feels like home. On nights when I stand in my kitchen and don’t quite know what to make, I dice up some chicken, pour melted butter over the top along with a few pantry staples, and let the slow cooker do the work. By suppertime, you’ve got tender, garlicky chicken and rich broth ready to catch a handful of egg noodles, and the whole house smells like the way my mother’s kitchen did on chilly evenings.

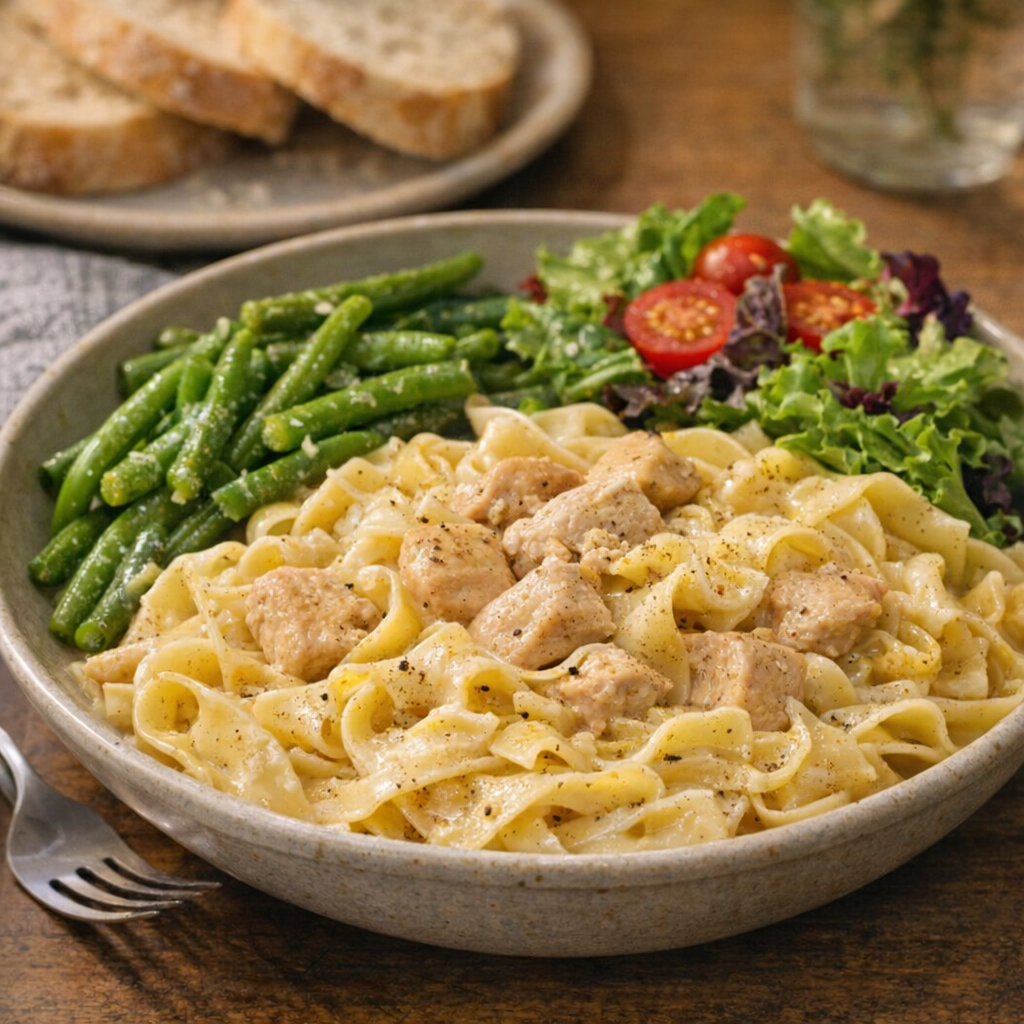
I like to ladle these buttery garlic chicken noodles into wide, shallow bowls and sprinkle a little black pepper over the top. A simple side of buttered peas or green beans fits the old-fashioned Amish feel, and a crisp lettuce salad with a tangy dressing helps cut through the richness. If you’ve got time, warm dinner rolls or thick slices of country bread are perfect for soaking up the extra broth. For a fuller meal, serve with sliced fresh tomatoes in summer or a crock of applesauce in the colder months.

Bowl of garlic butter chicken noodles with simple sides

Slow Cooker Amish Garlic Butter Chicken Noodles

Servings: 6


Ingredients

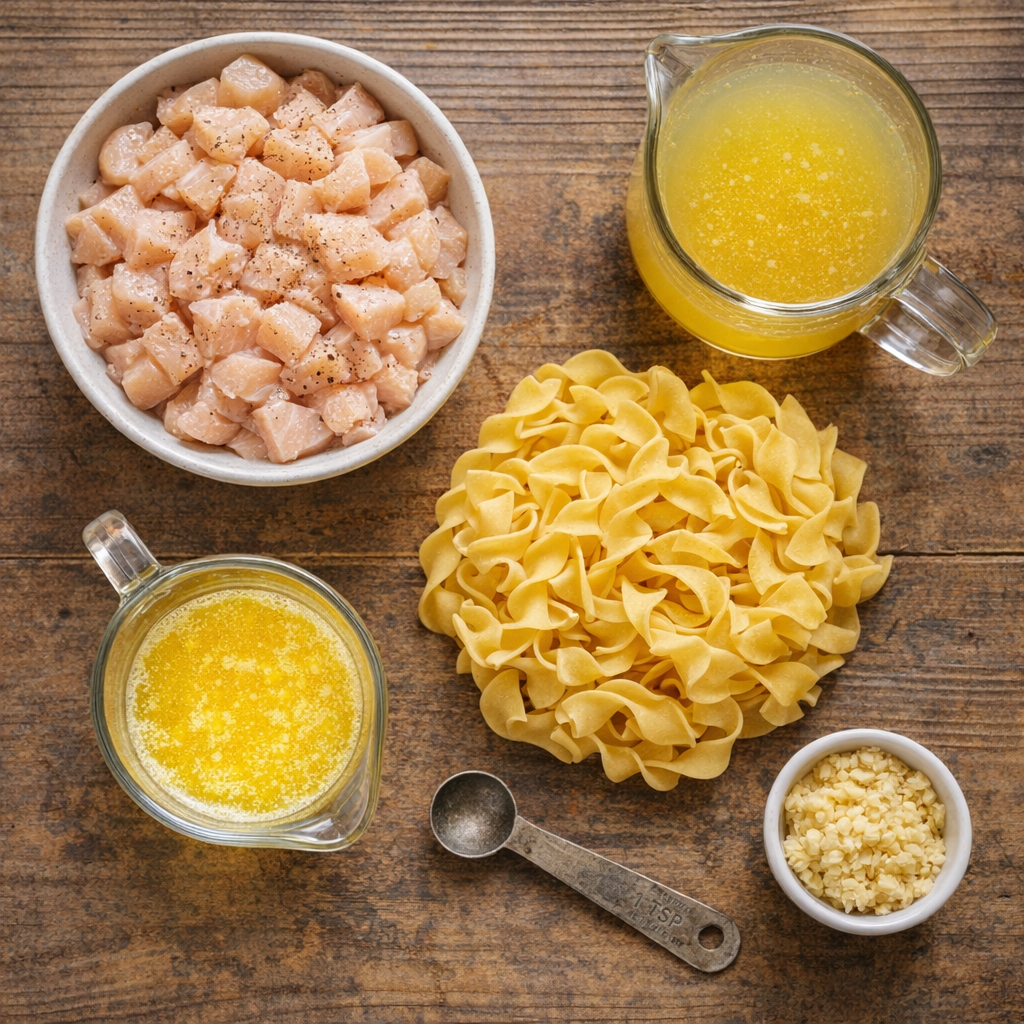
2 pounds boneless, skinless chicken breasts, diced into 1-inch pieces

1 cup (2 sticks) unsalted butter, melted
2 tablespoons minced garlic (or 6–8 cloves, finely chopped)
4 cups low-sodium chicken broth
12 ounces wide egg noodles, uncooked

Ingredients for Amish garlic butter chicken noodles

Directions

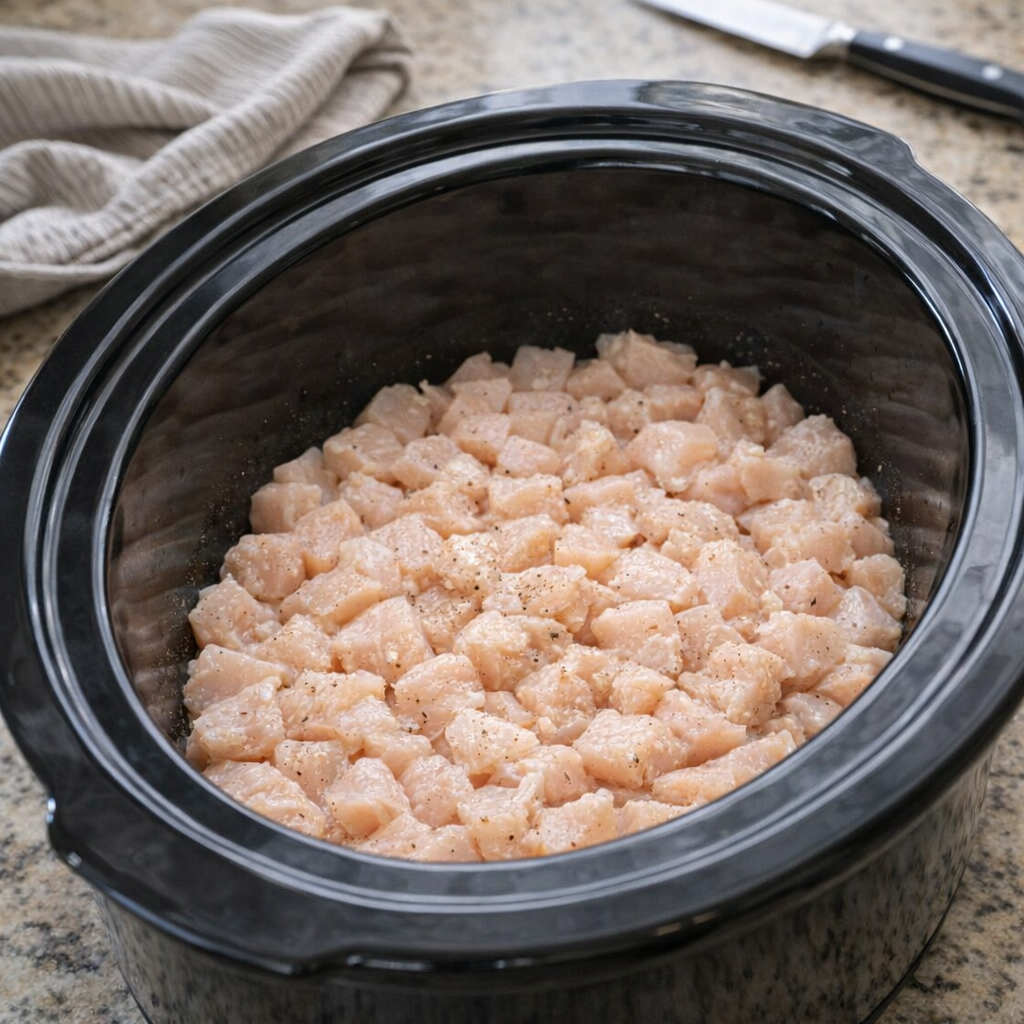
Place the slow cooker crock on a stable surface, such as a clean beige countertop. Add the diced raw chicken in an even layer across the bottom of the slow cooker.

Diced chicken arranged in a slow cooker crock

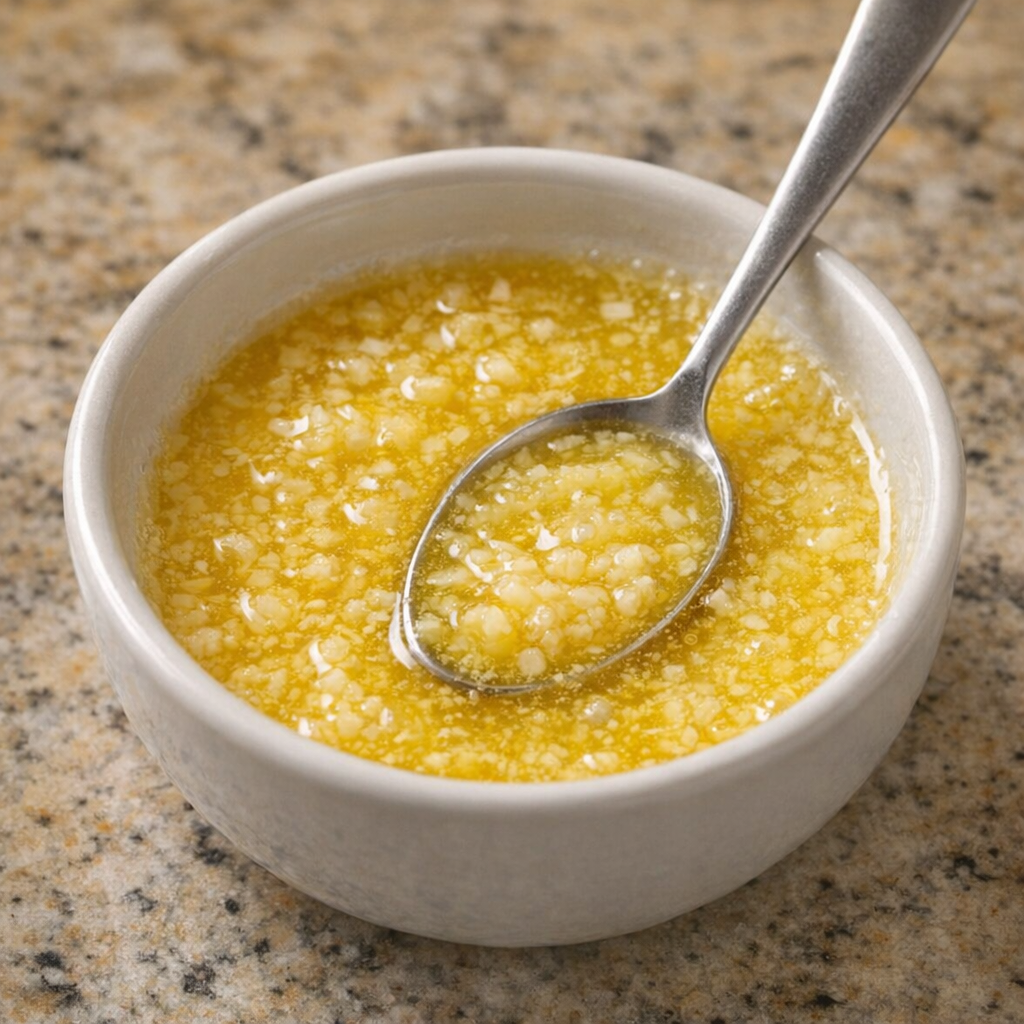
In a small saucepan or microwave-safe bowl, melt the butter until completely liquid but not browned. Stir in the minced garlic so it’s evenly distributed in the butter.

Melted butter and garlic in a small bowl

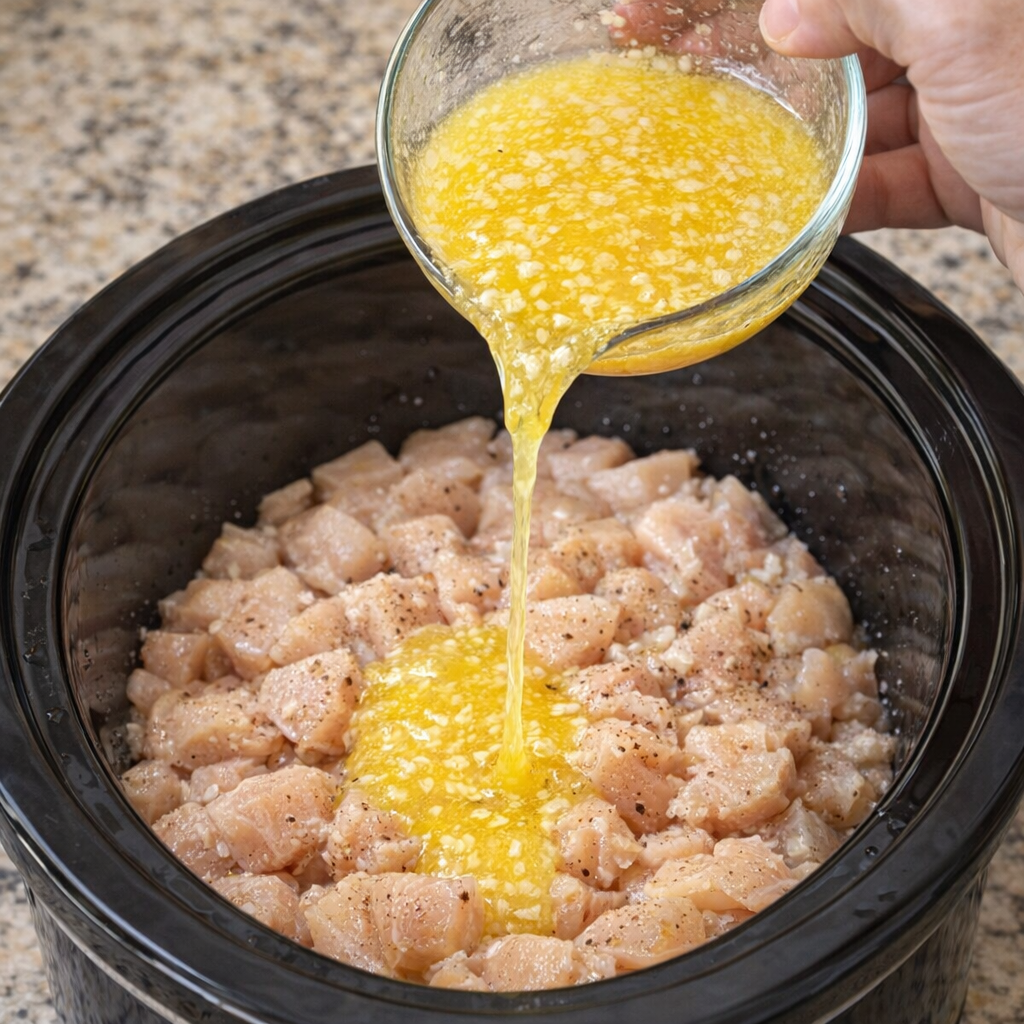
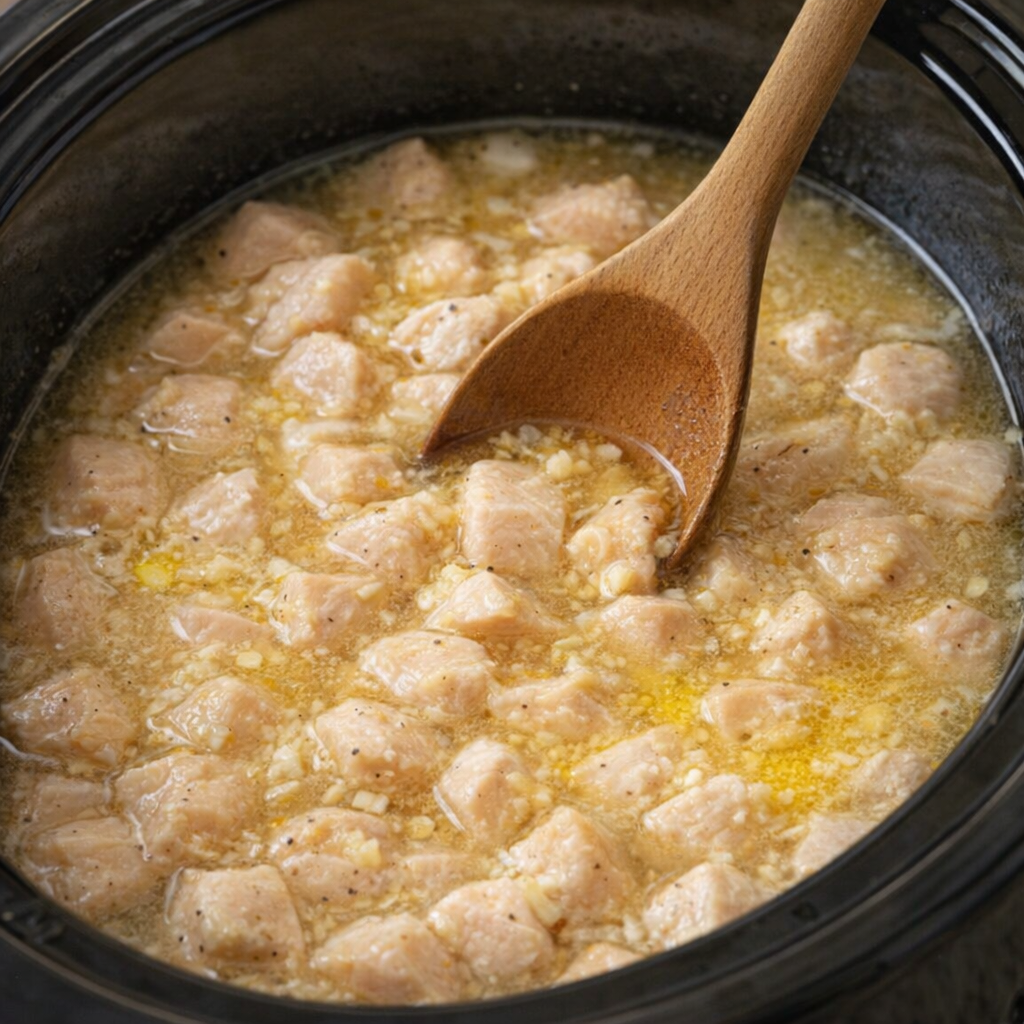
Slowly pour the melted garlic butter evenly over the raw diced chicken in the slow cooker, making sure all the chicken gets a good drizzle. This first step seasons the chicken and gives it that rich Amish-style butter flavor.

Garlic butter being poured over chicken in the slow cooker

Pour the chicken broth over the buttered chicken. Gently stir just enough to tuck all the chicken down into the liquid while keeping most of the butter and garlic mingled throughout.

Chicken and broth mixed together in the slow cooker

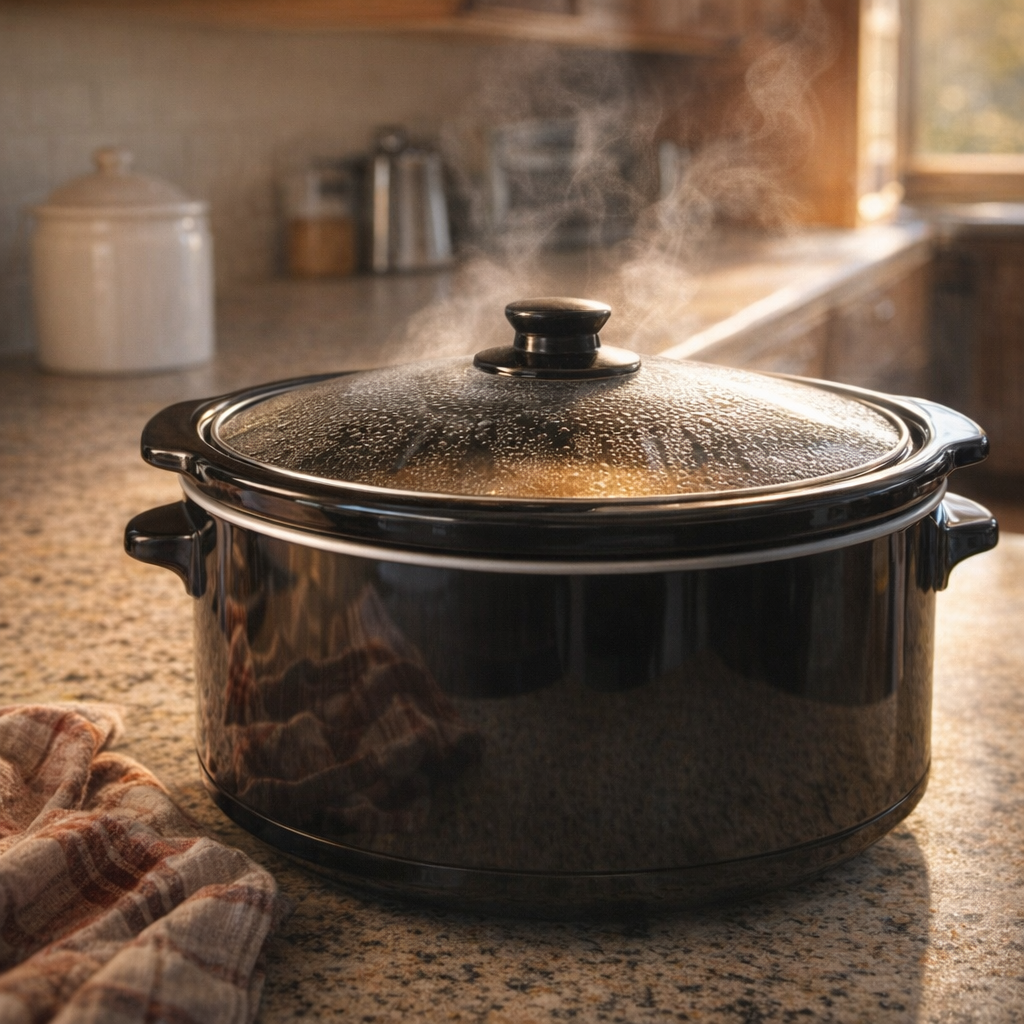
Cover the slow cooker with the lid. Cook on LOW for 4–5 hours, or on HIGH for about 2–2 1/2 hours, until the chicken is very tender and cooked through. Give it a gentle stir once or twice during cooking if you’re nearby.

Slow cooker simmering on the counter during cooking

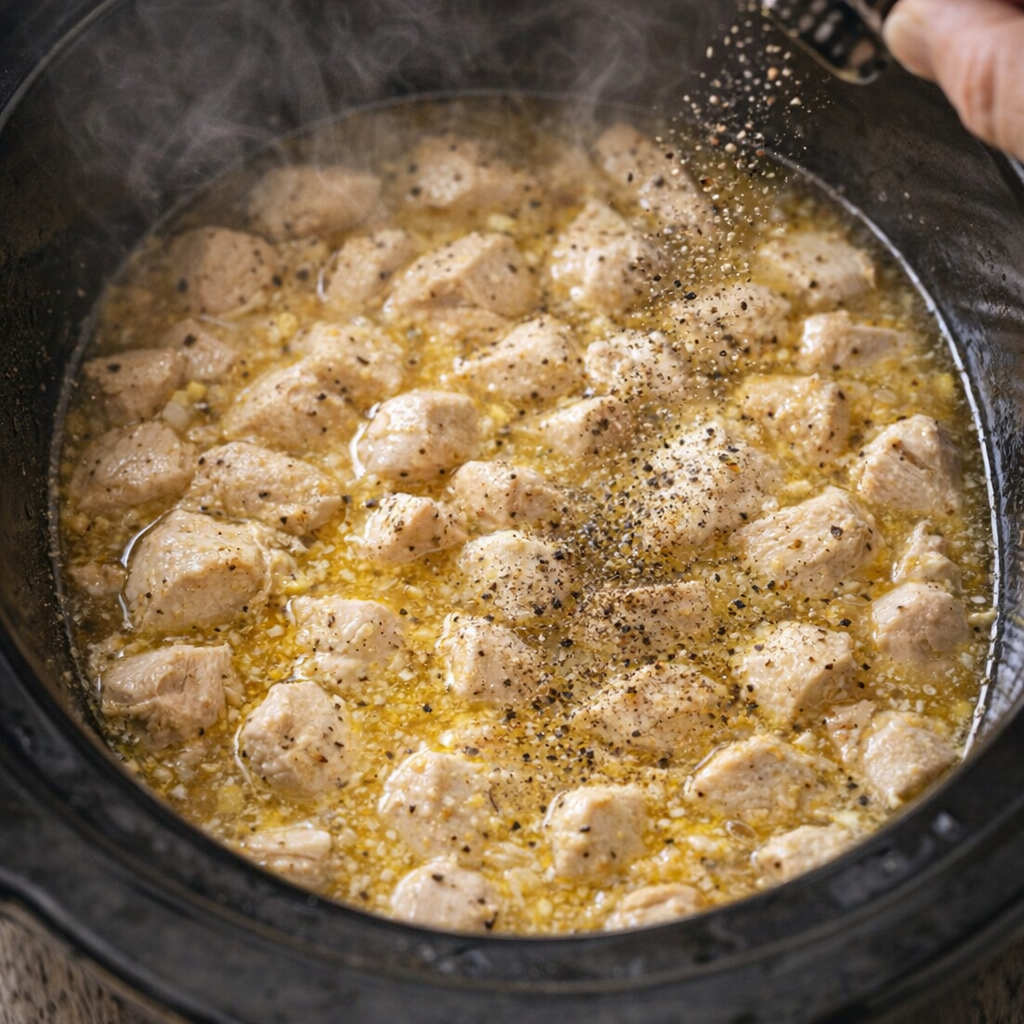
When the chicken is done, remove the lid and taste the broth, adding a pinch of salt and black pepper if you like, keeping in mind the simple, mild Amish-style seasoning.

Cooked chicken in buttery broth after slow cooking

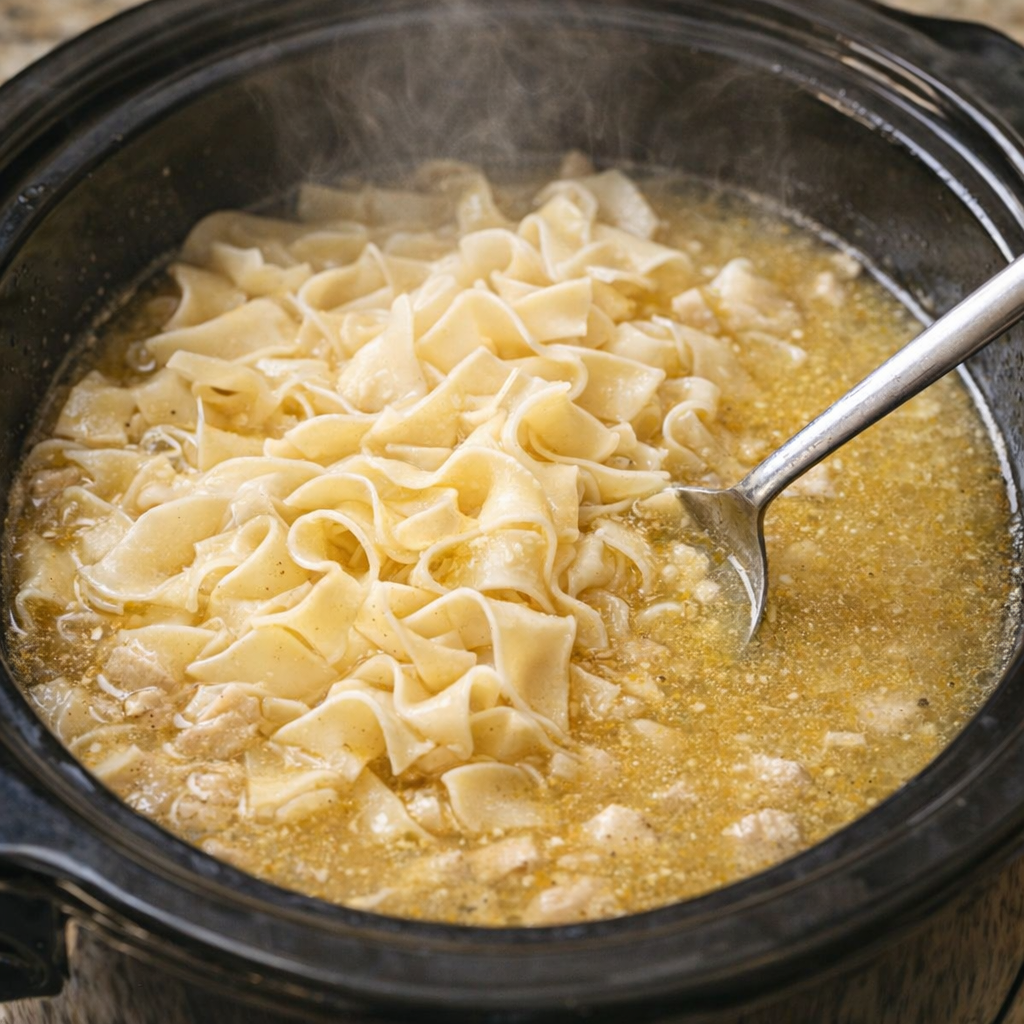
Stir in the uncooked egg noodles, pressing them down into the hot broth and chicken so they’re mostly submerged. If the noodles aren’t quite covered, you can add a splash more broth or water.

Egg noodles added to the slow cooker broth

Cover the slow cooker again and cook on HIGH for 20–30 minutes, stirring once halfway through, until the egg noodles are tender but not mushy and have soaked up some of the buttery garlic broth.

Noodles softening in the buttery broth

Once the noodles are cooked to your liking, give everything a final gentle stir, breaking up any clumps of noodles and making sure the chicken, butter, and noodles are well combined. Serve hot, straight from the slow cooker, while the noodles are still soft and the broth is silky.

Finished garlic butter chicken noodles ready to serve

Variations & Tips

For a creamier version, stir in 1/2 to 1 cup of sour cream or a can of cream of chicken soup after the chicken is cooked and before adding the noodles; let it warm through, then add the noodles as directed. If you prefer dark meat, boneless skinless chicken thighs stay especially tender and forgiving in the slow cooker.

To stretch the meal for a larger family, add an extra cup of broth and a few more ounces of noodles, checking the liquid level as they cook. For a little more Amish-style heartiness, toss in a cup of frozen peas or diced carrots during the last 30 minutes of cooking, along with the noodles.

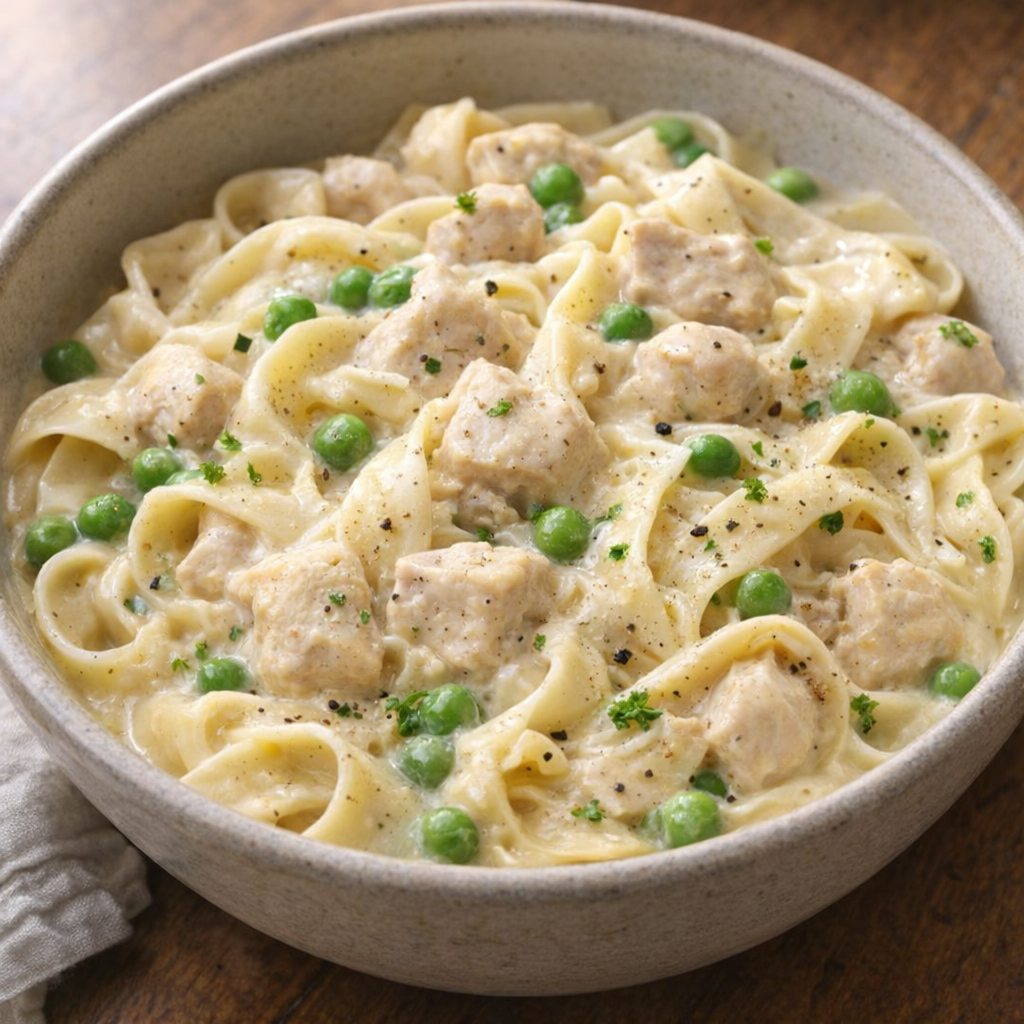
Creamy variation of chicken noodles with peas

You can also season the broth with a teaspoon of dried parsley or thyme for a gentle herbal note without straying far from its simple roots. Leftovers reheat well with a splash of extra broth or water to loosen the noodles, and the flavors deepen by the next day.

Tuesday, March 24, 2026

Cumin cheese buns

by


Cumin Cheese Buns

Introduction

Our cumin cheese buns are the perfect morning treat, offering a delicious twist on traditional cheesecakes. While stores offer reasonable prices on caraway cheese, these homemade buns stand out for their flavor and freshness.

Recipe Details

  • Servings: Makes dozens of buns; the default quantity is for two servings.
  • Difficulty Level: Easy

Ingredients

Foundational Ingredients

  • 200 grams of skim milk curd
  • 80 grams of egg whites (equivalent to two egg whites)
  • 45 grams of whole grain flour (corn flour is recommended, depending on the curd’s moisture level)
  • 1 teaspoon of baking powder
  • Herb salt
  • Spices from Provence

Filling Ingredients

  • 100 grams of skim milk curd
  • 200 grams of cumin cheese (10% fat)
  • 80 grams of egg whites
  • 40 scallions, finely chopped
  • Salt to taste

Instructions

  1. Prepare the Dough: In a mixing bowl, combine the egg whites, flour, baking powder, herb salt, and Provencal herbs. Mix in the skim milk curd to form a moist dough.
  2. Shape the Buns: With damp hands, shape the dough into small, round baskets and place them on a baking sheet.
  3. Prepare the Filling: In a separate bowl, mix the remaining egg whites, crumbled cumin cheese, sliced scallions, and crushed skim milk curd. Season with salt to taste.
  4. Fill and Bake: Spoon the filling mixture into the center of each dough basket. Bake at 400°F (200°C) for approximately 20 minutes or until the buns are golden brown.

Enjoy these flavorful cumin cheese buns as a delightful addition to your breakfast or brunch table!

Top Ad 728x90