Before we jump into today’s recipe, I just want to say thank you for being here. Truly. Sharing simple, delicious recipes with you is something I’m incredibly grateful for. Some dishes are fancy and complex, but others—like these Candied Kielbasa Bites—prove that a handful of ingredients can create something absolutely irresistible.
These little bites are smoky, sweet, tangy, and perfectly caramelized. As they bake, the brown sugar melts into a sticky glaze while the ketchup and horseradish add just the right amount of balance and flavor. The result? Golden, glossy sausage pieces that disappear from the serving tray faster than you expect.
They’re perfect for game nights, holiday gatherings, potlucks, or simple weeknight snacks. And the best part? The oven does almost all the work.
If you love quick appetizers and easy comfort recipes like this one, don’t forget to subscribe to receive new recipes by email so you never miss the next delicious idea.
Recipe Overview
Candied Kielbasa Bites combine smoky kielbasa sausage with a sweet and tangy caramelized glaze, creating a snack that’s both simple and incredibly flavorful.
Why You’ll Love This Recipe
Only 4 simple ingredients
Perfect party appetizer
Sweet, savory, and smoky flavor
Easy to prepare
Feeds a crowd
Great served as a snack or meal topping
What Do Candied Kielbasa Bites Taste Like?
These bites are rich, smoky, and slightly garlicky, balanced by a sweet caramelized glaze from the brown sugar. The ketchup adds tanginess, while the horseradish brings a subtle kick that keeps the flavor exciting.
Benefits of This Recipe
Ingredients
You only need four ingredients for this delicious appetizer:
These simple pantry ingredients create an amazing sweet-and-savory glaze.
Tools You’ll Need
For easy preparation, gather these tools:
Ingredient Additions & Substitutions
This recipe is delicious as-is, but you can customize it to suit your taste.
Optional Additions
Red pepper flakes for heat
Honey for extra sweetness
Garlic powder for deeper flavor
Dijon mustard for tanginess
Substitutions
Turkey kielbasa instead of pork
BBQ sauce instead of ketchup
Maple syrup instead of brown sugar
How to Make Candied Kielbasa Bites
Step 1: Preheat the Oven
Preheat your oven to 375°F (190°C).
Step 2: Slice the Kielbasa
Cut the kielbasa into 1-inch pieces.
Step 3: Make Hasselback Cuts
Place each sausage piece between two chopsticks or skewers. Slice into ¼-inch sections, but don’t cut all the way through. The chopsticks prevent the knife from slicing completely through the sausage.
This creates the classic hasselback effect, allowing the glaze to seep into the slices.
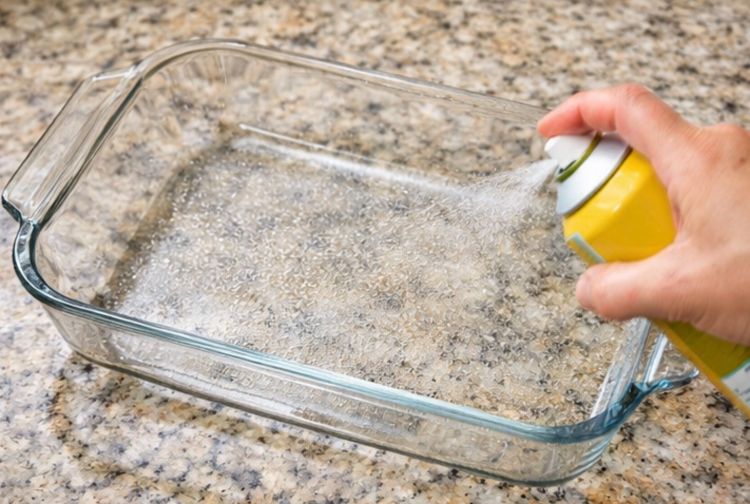
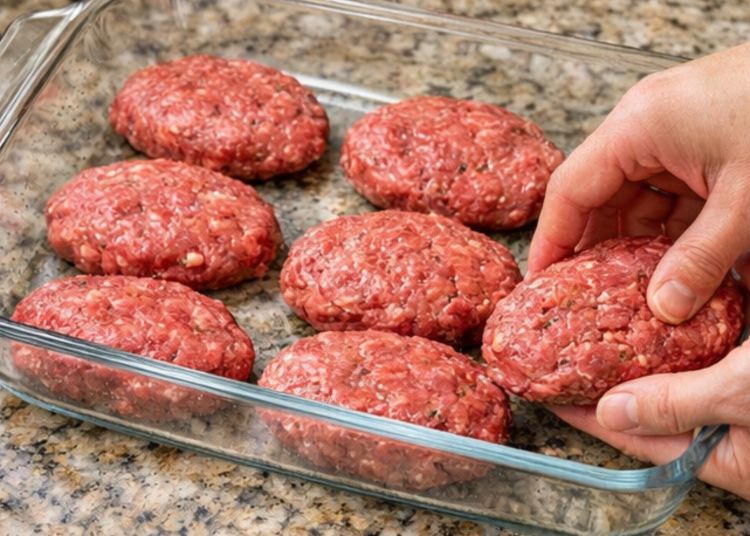
Step 4: Arrange in Baking Dish
Place all kielbasa pieces in a baking dish.
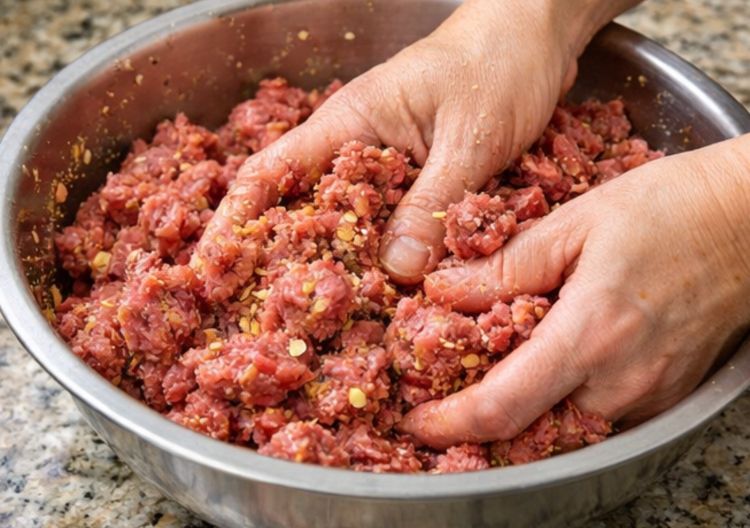
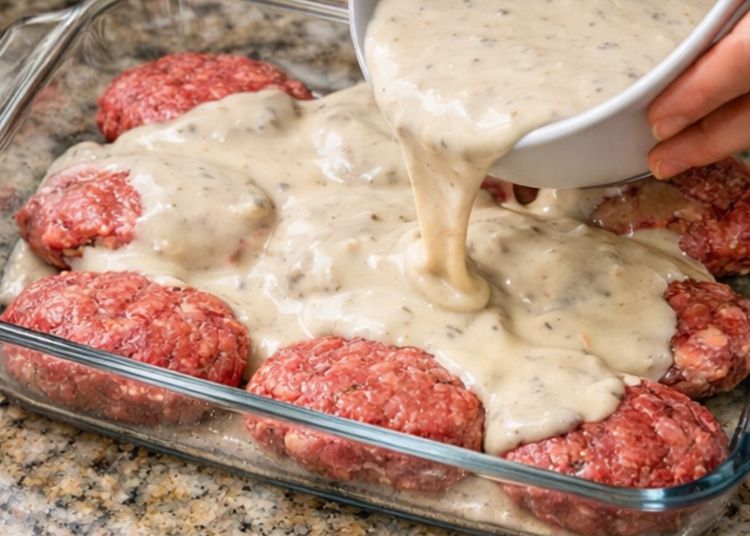
Step 5: Add the Sauce Ingredients
Add the following directly into the dish:
brown sugar
ketchup
prepared horseradish
Stir everything together until the sausage pieces are coated.
Step 6: Bake
Bake for 60–90 minutes, stirring every 20 minutes.
The sauce will slowly caramelize and thicken, coating the sausage with a rich glaze.
Step 7: Serve
Once the edges are browned and sticky, remove from the oven and serve warm.
What to Serve With Candied Kielbasa Bites
These bites are incredibly versatile.
As an Appetizer
As a Meal
Serve over:
steamed rice
buttered noodles
mashed potatoes
Side Dish Pairings
coleslaw
roasted vegetables
fresh salad
Tips for Perfect Kielbasa Bites
Use Good Quality Kielbasa
Smoky, flavorful sausage makes the biggest difference in this recipe.
Don’t Skip the Stirring
Stirring every 20 minutes ensures even caramelization.
Bake Until Sticky
The longer they cook, the thicker and richer the glaze becomes.
Serve Warm
These bites taste best when served hot and glossy.
Storage Instructions
Refrigerator
Store leftovers in an airtight container for up to 4 days.
Freezer
You can freeze cooked kielbasa bites for up to 2 months.
Reheating
Oven:
Reheat at 350°F for 10–15 minutes.
Microwave:
Heat in short intervals until warm.
General Recipe Information
Frequently Asked Questions
Can I make this recipe in a slow cooker?
Yes! Cook on LOW for 3–4 hours, stirring occasionally.
Is horseradish very spicy?
It adds a mild kick but isn’t overpowering once baked.
Can I skip the hasselback slicing?
Yes. Regular sliced kielbasa works too, but the hasselback cuts allow more sauce to soak in.
Can I prepare this ahead of time?
Absolutely. Assemble the dish and refrigerate until ready to bake.
Conclusion
These Candied Kielbasa Bites are one of those magical recipes where a few simple ingredients create something truly special. Sweet, smoky, and sticky in the best way, they’re perfect for parties, gatherings, or even a cozy family dinner.
Once you make them, don’t be surprised if everyone asks for the recipe.
More Recipes You Might Love
If you enjoyed this recipe, try these next:
Share Your Experience
Did you make these Candied Kielbasa Bites?
Leave a review and let me know how they turned out! You can also share your photos on Pinterest to inspire other home cooks.
Nutritional Information (Approximate Per Serving)
Calories: 320
Protein: 12g
Carbohydrates: 22g
Fat: 20g
Sodium: 680mg